
Why Did My End Grain Cutting Board Warp or Cup After Glue-Up?
An end grain board warps because the wood moved after you glued it, and it moved because the moisture content changed. Stock milled at 12 percent and glued in a shop that sits at 6 to 8 percent will lose that water over the next month and cup as it goes. The three other causes are mixing species or boards at different moisture levels in one panel, gluing strips with all the growth rings facing the same way, and sealing or oiling one face while the other breathes. Acclimate every board a week in the shop, check it with a moisture meter at 6 to 8 percent, alternate ring direction, and finish both faces on the same day.
A board that came off the clamps flat and sat rocking on the bench two weeks later did not fail at the glue joint. It failed at the moisture content, usually before the glue bottle was opened. Wood changes size with the humidity around it, and the second glue-up locks dozens of small movers into one panel where they can no longer move independently. Whatever water is still leaving the wood after that point has to go somewhere, and the shape of the board is what pays.
What actually makes a glued panel cup?
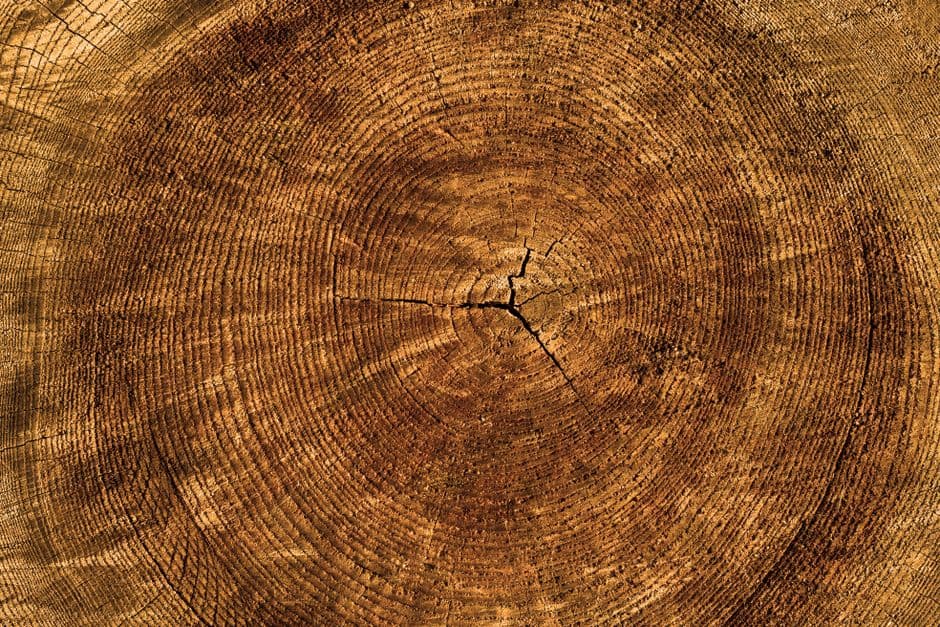
Wood shrinks across the grain as it dries, and it shrinks unevenly: tangentially (along the growth rings) roughly twice as much as radially (across them). For hard maple the numbers are about 9.9 percent tangential against 4.8 percent radial from green to oven-dry. That 2:1 ratio is the entire mechanism behind cupping. The face of the board closer to the outside of the tree shrinks more than the face closer to the pith, the wide side pulls the narrow one, and a flat board becomes a shallow bowl.
In an end grain board this shows up differently than in a long grain panel. The top surface is end grain, which barely moves along its length, so the board rarely bows lengthwise. It cups across the width instead, twists when strips pull in different directions, or telegraphs the seams as ridges when strips shrink at different rates.
| Cause | What you see | Prevention |
|---|---|---|
| Stock too wet at glue-up | Uniform cup over 2 to 6 weeks | Meter at 6 to 8 percent before milling |
| Mixed moisture between boards | Ridges and valleys at specific seams | Acclimate all stock together, same week |
| Rings all oriented the same way | Consistent cup in one direction | Alternate ring direction strip to strip |
| One face sealed, one bare | Cup that appears within days of finishing | Oil both faces and all edges the same day |
How dry does the lumber need to be?
Kiln dried hardwood usually leaves the kiln around 6 to 8 percent moisture content, which matches a heated indoor shop. It does not stay there. A board that has spent three weeks on a rack in an unheated garage in a humid August can read 11 or 12 percent, and lumberyard stock that lived outside under a roof reads higher still.
The fix is boring and it works: bring the lumber into the shop where the board will live, sticker it with 20 mm spacers so air reaches every face, and leave it a week. Two weeks if it came from outdoors or if the boards are 8/4. Then check it with a pin meter, and check it in the middle of the board rather than at the end, since ends dry first and read optimistically low.
Buy the meter. A pin meter costs about $30 and it is the one tool here that gives you a number instead of a feeling. If you have made three boards and one of them cupped, you do not know which of the four causes did it, and you will keep guessing until something measures the wood.
A number worth memorizing: a 300 mm wide maple panel that dries from 12 percent down to 7 percent loses roughly 3 mm across its width. Spread that over 8 strips glued into a rigid panel and you get stress in every joint plus a visible cup, all from stock that felt perfectly dry to the hand.
Does mixing species cause warping?
Mixing species is fine, and most good looking boards do it. Mixing moisture content is what hurts you. Maple, walnut and cherry all move at similar rates, and the classic maple-walnut board is stable specifically because their shrinkage coefficients sit close together. Bring one walnut board in from a cold car on glue-up morning and pair it with maple that has lived in the shop for a month, and you have built a bimetallic strip out of wood.
A second species trap: purpleheart and padauk are common accent choices and both move harder on your joints than maple. Keep an exotic accent line thin, away from the outer edge, and never let it dominate the panel.
Which way should the growth rings face?
Look at the end of each strip before the first glue-up and note which way the rings arc. The standard advice for long grain panels is to alternate them, cup up, cup down, cup up, so the individual cups cancel into a mild washboard instead of adding up to one big bowl. That advice carries over to the first glue-up of an end grain board.
Ring orientation is real, but it is fourth on this list. A board built from properly dried and acclimated stock with both faces finished stays flat even if you ignored the rings entirely, while a board built from 12 percent lumber cups no matter how carefully you alternated them. Fix the moisture first, then treat ring direction as free insurance.
Quartersawn stock is the exception that makes life easy. Rings running nearly perpendicular to the face move about half as much as flatsawn, which is why quartersawn maple is worth paying extra for when you sell boards and want them to survive a customer's kitchen.
Can clamping pressure warp the board?
Overclamping causes a different failure: it starves the joint, and the line comes apart during the second glue-up. Around 150 to 250 psi is the working range for hardwood, and past that you squeeze out glue that was supposed to stay in the joint.
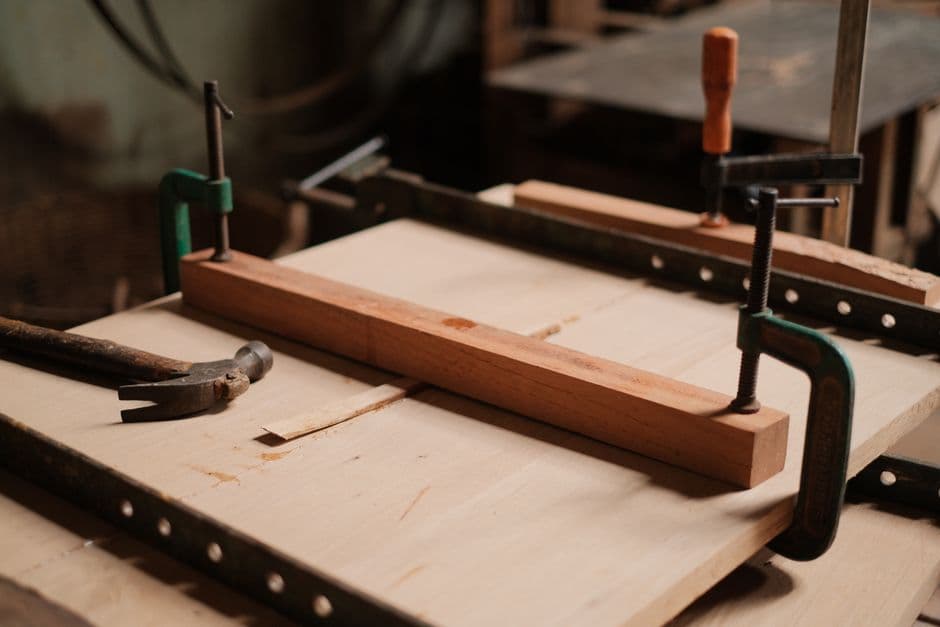
What clamps do cause is a false flat. Bar clamps applied off-center push the panel into a bow while the glue cures, and you sand it flat in that bowed state. Then the panel relaxes and the flatness you sanded turns into a cup. Alternate clamps above and below the panel, use cauls across the width, and check the panel with a straightedge before the glue sets rather than after.
One more shop habit that quietly warps boards: leaving a fresh panel lying flat on a bench overnight. The top face gives up moisture to the room while the bottom face sits against a cold, sealed surface breathing nothing. That is one-sided drying, the same mechanism as one-sided finishing. Stand fresh panels on edge, or sticker them.
What about the finish?
Oil both faces, both long edges and both ends, in the same session. A board with mineral oil on the top and bare wood on the bottom has one face that exchanges moisture with the kitchen freely and one that does it slowly, and within a week the bare face has lost more and the board has cupped toward the sealed side. This is the single most common cause of a board that was flat when it left your shop and arrived cupped at the customer's house.
It is also the failure that shows up after delivery, so write the care card: dry on edge after washing, never leave it in a sink, re-oil monthly for the first three months.
How does planning ahead help?
Most of this article is about wood behavior that no software can change, but two things do belong in the plan rather than in your memory. The first is the requirement itself: which species, at what moisture content, milled to what thickness, acclimated how long. Endgrain Studio prints the project as a shop-ready sheet with the part list and the stock requirements, so the acclimation window starts when you buy the lumber rather than when you remember to check it. The second is thickness. A board under 32 mm has less material resisting the cup and shows it faster, and the studio ties finished thickness to the strip widths of the second glue-up so you do not discover at the last crosscut that your slices are thinner than you intended.
What do I do with the board that already cupped?
Measure the cup with a straightedge first. Under about 1.5 mm across 300 mm, a router sled pass or a drum sander takes it out with material to spare on a 38 mm board. Past 3 mm you remove so much wood that the board ends up thin, and the cause is still in the wood, so it may cup again.
There is a repair worth trying before the firewood pile: put the board in the shop on edge, in still air, for two to three weeks, and measure it weekly. If the cup came from uneven drying rather than from wet stock reaching equilibrium, it often relaxes most of the way back on its own. Then flatten and finish both faces at once. If it has stopped changing and is still bowed, flatten it if the thickness allows, and treat the board as a lesson that cost you about $40 in maple and taught you to buy the moisture meter.