
What Angle Do I Cut for a Chevron End Grain Board?
For a mitered chevron the saw setting is 45 degrees off square, which gives a 90 degree V. Change that setting and the V changes with it: the included angle is always 180 minus twice the saw setting, so 30 degrees on the saw opens the V to 120 degrees and 60 degrees closes it to 60. A true end grain chevron is different, because the pattern is a staircase of square-cut blocks and the apparent angle comes from the block proportions rather than from any miter. Square blocks read as 45 degrees, and a 30 by 14 mm block reads as 65.
The question sounds like it has one number for an answer, and for a face grain chevron it does. On an end grain board it splits in two, because the pattern you see on an end grain surface is a mosaic of block cross sections, and a mosaic cannot draw a smooth diagonal line. What you can do is stack the blocks in a staircase that reads as a diagonal from a metre away, or give up pure end grain and miter the strips. The angle you set on the saw depends on which of those two boards you are building.
Chevron or herringbone, which one are you actually building?
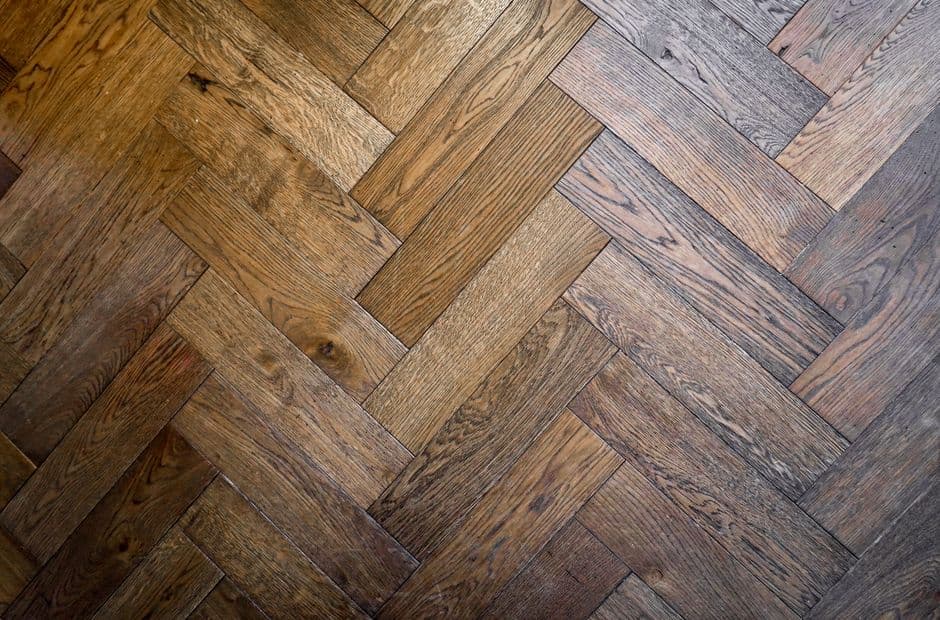
They get used interchangeably in shop talk and they are not the same joint. Herringbone pieces are cut square on both ends and laid perpendicular to each other, so each piece butts into the side of its neighbour and the pattern has a small step at every meeting point. Chevron pieces are mitered, the ends meet point to point, and the stripes run through the seam without a break.
That difference decides your cut list before anything else. Herringbone needs one square crosscut per piece and tolerates a half millimetre of slop, since a butt joint hides it. Chevron needs two identical miters per piece and punishes error twice over, because a 1 degree miter error opens a 2 degree gap at the V. On a 60 mm wide strip that gap is about 1 mm at the outside edge, wide enough to read as a mistake from across the kitchen.
Why a true end grain chevron has no saw angle at all
Work through what an end grain surface is made of. You glue strips edge to edge into a panel, crosscut that panel into slices, stand the slices on edge and glue them up again. Every visible cell on the finished face is the cross section of one stick: a rectangle, height set by the stock thickness and width set by the rip width. Nothing on that face is a diagonal cut, so nothing on that face can be a continuous diagonal line.
The chevron therefore has to be built as a staircase. Each row of the second glue-up shifts by one cell relative to the row before it, and the eye joins the corners into a diagonal. The apparent angle is fixed by the cell proportions and nothing else:
| Stock thickness (row height) | Rip width (cell width) | Apparent angle | Look |
|---|---|---|---|
| 30 mm | 52 mm | 30° | Long, lazy V, needs a wide board to close |
| 30 mm | 30 mm | 45° | Classic chevron, square cells, easiest to cut |
| 30 mm | 17 mm | 60° | Tall V, noticeably steeper |
| 30 mm | 14 mm | 65° | Steep V, and the rip count nearly doubles |
The formula behind the table is a single line of trigonometry: the angle is the arctangent of the row height divided by the cell width. Reverse it when you already know the look you want and need the rip width: divide the stock thickness by the tangent of the target angle. For a 65 degree V from 30 mm stock that is 30 / 2.14, or 14 mm.
Watch what happens to the material bill in that last row. Going from 30 mm cells to 14 mm cells doubles the number of rips through the same panel, and every rip eats a 3.2 mm kerf. On a 300 mm wide panel that is 21 rips instead of 10, which is 35 mm of extra sawdust per panel before you have cut a single slice. Steep chevrons are expensive in a way that never shows up in the drawing.
If you want a real mitered V, what does the saw get set to?
Say you accept a diagonal grain face instead of pure end grain. Now you have the classic construction: glue up a striped panel, crosscut it at an angle into slices, flip every second slice so the stripes mirror, and glue the slices back together. The V is continuous and sharp, and the exposed face sits somewhere between end grain and long grain.
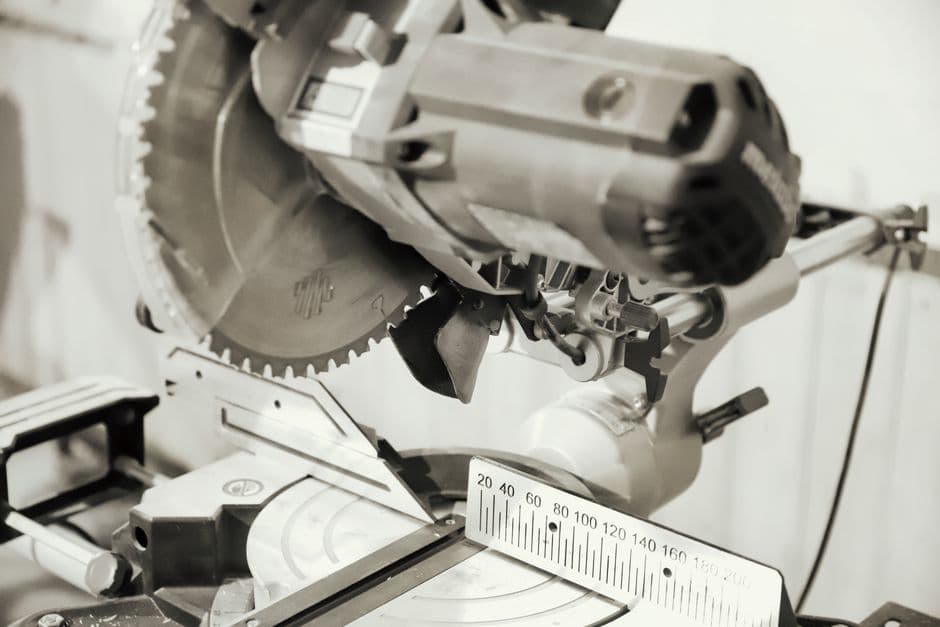
One formula covers it. Call the saw setting the deviation from a square crosscut, which is what the scale on a miter saw reads.
| Saw setting off square | Included angle of the V | Stripe angle to the long edge |
|---|---|---|
| 30° | 120° | 60° |
| 40° | 100° | 50° |
| 45° | 90° | 45° |
| 50° | 80° | 40° |
| 60° | 60° | 30° |
The included angle is 180 minus twice the saw setting. Two practical notes on the ends of that table. Most 254 mm miter saws stop somewhere between 45 and 57 degrees, so anything past 50 belongs on a table saw sled where the angle is set once and never touched. And below about 35 degrees the V flattens out so much that people stop reading it as a chevron and start reading it as a set of stripes that went crooked.
How much extra wood does the angle eat?
More than most people budget, and in two separate places.
The first is the triangle at each end of the panel. An angled crosscut across a 300 mm wide panel runs 300 mm along the panel length at a 45 degree setting, and the offcuts at the start and the finish add up to a full 300 mm of length thrown away. On a 1000 mm panel that is 30 percent gone before the first usable slice, on top of the 25 to 30 percent that kerf and milling already take.
The second is the stop block. Slice thickness is measured perpendicular to the cut, but your stop is set along the panel edge, and those two numbers are not equal on an angled cut. Divide by the cosine of the setting to convert:
| Saw setting | Perpendicular slice | Advance along the edge | Effective kerf along the edge |
|---|---|---|---|
| 30° | 40 mm | 46.2 mm | 3.7 mm |
| 45° | 40 mm | 56.6 mm | 4.5 mm |
| 60° | 40 mm | 80.0 mm | 6.4 mm |
Set a 40 mm stop at a 45 degree angle and every slice comes out 28 mm thick, which is under the finished thickness of most boards. This single conversion is where more chevron panels die than anywhere else.
Which version should you build first?
The staircase, at square cells and 45 degrees, and I would say that even to someone who has ten boards behind them.
Every cut in that version is square, every glue joint is long grain to long grain, and the board is genuinely end grain, so it behaves the way a cutting board should under a knife. The mitered version looks sharper in photographs and costs you a weak joint at every point of the V, a face that is part long grain and dulls differently, and panels that slide sideways under clamp pressure because the joints are on a slope. Dry fit the mitered version with cauls before you spread glue, or you will find the whole assembly has crept 5 mm out of line while you were tightening the last clamp.
Once the 45 degree staircase is on the bench and looks right, changing the rip width is a five minute edit to the cut list, and that is the cheap way to try 60 or 65 degrees.
Where do these numbers get settled?
Before the saw runs, at the layout stage, because the rip width, the row height and the shift per row all have to agree or the staircase drifts. Endgrain Studio takes the pattern you draw, works the strip widths back out of it, applies your kerf and your milling allowance to the material total, and prints a cut list with the slice thicknesses already converted. The same maths sits behind the checkerboard and 3D cube layouts, where the shift per row is what separates a checkerboard from a chevron.
If you are working on paper instead, write the target angle at the top of the sheet and derive the rip width from it rather than the other way round. Choosing a rip width first and then measuring what angle came out is how you end up with a 52 degree chevron that nobody asked for.
What do you cut first?
Decide between the staircase and the miter before you buy lumber, since the mitered version needs roughly a third more panel length for the same finished board. If it is the staircase, mill your stock to a known thickness, divide by the tangent of the angle you want, and rip to that number. If it is the miter, set the saw once, cut a test pair from offcuts, and hold the two mitered ends together against a straightedge before you trust the setting on good walnut.