
End Grain vs Edge Grain: Which Should I Make and Why?
Build edge grain first. An edge grain board is one glue-up, roughly 2 to 3 hours of shop time, around 25 percent waste, and it can be flattened in a thickness planer if it comes out uneven. An end grain board of the same finished size takes two glue-ups, 5 to 7 hours, 35 to 45 percent waste, and it cannot go through a planer without risk. End grain is the better board once it exists: the fibers stand vertical, so the knife edge parts them instead of being scraped across them, and the surface closes over shallow cuts. It is worth the extra work when you are selling at a price that covers it, or when the board is a gift you want to still look good in ten years.
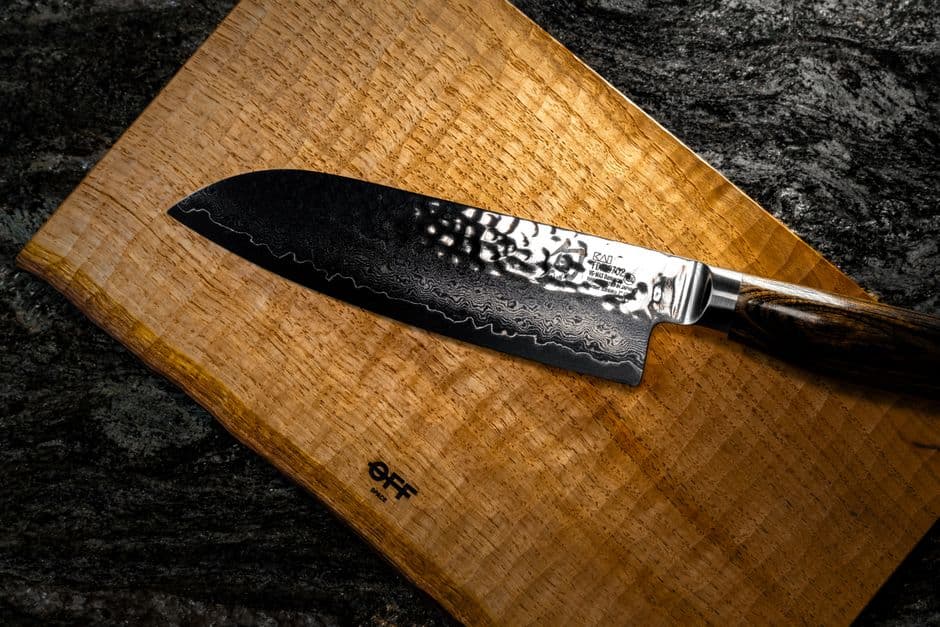
The two constructions look similar in a photo and behave nothing alike on a bench. An edge grain board is a row of strips glued face to face, the long grain running the length of the board, and the surface you cut on is the side of the fiber. An end grain board is that same panel cut into slices across the strips, with every slice flipped ninety degrees so the fiber ends point up. That flip is the whole story: knife wear, price, glue-up difficulty, waste, and every failure mode that follows.
Most people asking the question have already seen the end grain checkerboards and want to make one. The honest answer is that you should still make an edge grain board first, and not because end grain is beyond a beginner. It is because the end grain board contains the edge grain board as its first step. If your first glue-up is not flat and square, the second one multiplies the error, and you will not learn which of the two went wrong.
What actually changes when you turn the fibers vertical?
Wood fiber is a bundle of hollow tubes. Cut along the side of those tubes and a knife edge is scraping across the tube walls, which is what dulls it. Cut into the open ends and the edge slips between the tubes and pushes them apart, then they spring back partway. That is why an end grain board recovers from shallow cuts and an edge grain board keeps them.
The same open tubes work against you everywhere else. End grain drinks glue and oil, so joints need more adhesive and the finish schedule is heavier in the first month. It also moves more with humidity in the direction that matters, which is why an end grain board needs to be built with the growth rings alternating and stored on edge instead of flat on a counter.
How do the two compare on the numbers?
Here is a 300x400x40 mm board (roughly 12x16x1.6 inches) in hard maple and black walnut, built both ways in a one-person shop with a table saw, a planer and eight clamps.
| Edge grain | End grain | |
|---|---|---|
| Glue-ups | 1 | 2, plus a crosscut stage between them |
| Shop time excluding cure | 2 to 3 hours | 5 to 7 hours |
| Waste over finished volume | 20 to 25 percent | 35 to 45 percent |
| Board feet of rough stock | around 3.5 bf | around 4.5 to 5 bf |
| Material cost at $9 per bf | roughly $32 | roughly $43 |
| Flattening | planer, then sanding | sander or router sled only |
| Clamp pressure | moderate | higher, and it needs to be even |
| Typical Etsy price band | $60 to $110 | $120 to $250 |
The waste number is where people get caught out. On an end grain board you lose material twice: once to the kerf and jointing on the first glue-up, then again to the crosscut kerf, the second glue-up squeeze-out and the flattening allowance. A 3 mm blade taking eleven crosscuts out of a 400 mm panel removes 33 mm of finished board before anything else goes wrong.
Which one is harder to build, and where exactly?
Edge grain has one genuinely difficult moment: getting the strips flat and square before glue, because a strip with a 1 degree bevel on its edge turns into a panel with a visible bow. Everything after that is forgiving. If the panel comes out uneven you run it through the planer and it is fine.
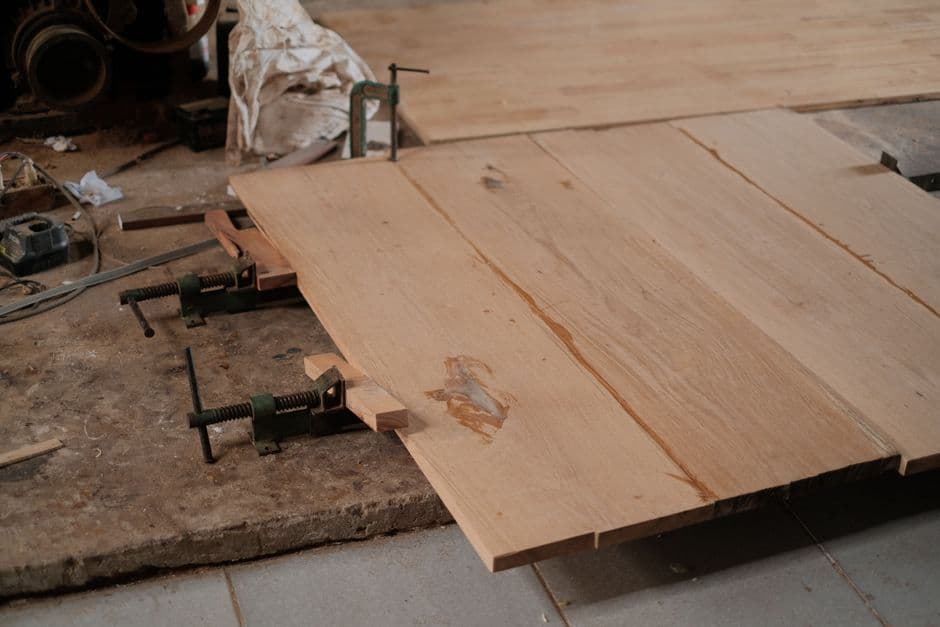
End grain has three difficult moments. The crosscuts must be exactly square, since any angle error becomes a gap in the second glue-up and it doubles when you flip alternate slices. The second glue-up has far more surface area soaking up glue, so open time gets short and it is easy to be clamping a joint that has already skinned over. And the flattening is the part most people are unprepared for: you cannot safely run end grain through a thickness planer, so it comes down to a drum sander, a router sled, or a long session with a belt sander and a straightedge.
Does end grain really save your knives?
Yes, but the effect is smaller than the marketing suggests and larger than the skeptics claim. Independent testing of edge retention across board materials is thin, so treat any precise number you read as a claim rather than a measurement. What is not in dispute is the mechanism: on end grain the edge parts fibers rather than dragging across them, and the surface closes over the cut, which is why an end grain maple board looks better after two years of daily use than an edge grain board of the same species.
Two things matter more than the construction for edge life, and it is worth being blunt about them. The first is species: a board in hard maple at around 1450 lbf on the Janka scale is kinder to a blade than one in wenge at over 1600, whichever way the grain runs. The second is what else the knife touches. A board that lives next to a granite counter and a ceramic plate will not save an edge no matter how it was glued up.
What about cost, price, and the hours you are actually paid for?
Run the two through the same arithmetic and the picture is clear. Edge grain at $32 of material and 2.5 hours, priced at $85, pays about $21 an hour. End grain at $43 and 6 hours, priced at $180, pays about $23. The end grain board earns slightly more per hour and considerably more per board, but only at the higher price point. Sell an end grain board at $110 because that is what the edge grain ones go for and you are working for $11 an hour with more risk of a failed glue-up.
Where does the planning tool fit?
The strip widths for an end grain board are not a design choice you make by eye. The width of each strip in the second glue-up equals the finished thickness of the board plus a flattening allowance, and the number of crosscuts sets both the pattern and the material you burn to kerf. Endgrain Studio takes the finished size and the pattern and returns the strip list, the crosscut positions, the board feet with waste included, and a cost figure you can price against, so the comparison above becomes your numbers instead of mine. For an edge grain board it does the same thing with one stage instead of two.
So which should you make?
Make edge grain if this is your first board, if you are building it in an afternoon, if you do not own a drum sander or a router sled, or if the buyer is at a $70 to $100 price point. It is a genuinely good board, it holds up for a decade with normal care, and nobody at a craft fair has ever complained that a walnut and maple edge grain board was not impressive enough.
Make end grain when you can charge for it, when you already have a way to flatten a panel that cannot go through a planer, and when the pattern is the point. A checkerboard or a 3D cube only exists in end grain, and that is the real reason to build one. My own rule after enough glue-ups to have opinions: three clean edge grain boards before the first end grain attempt, and cut the first end grain panel 40 mm oversize in both directions so the inevitable squaring-up has somewhere to come from.