
Can You Over-Tighten Clamps and Starve the Glue Joint?
You can starve a joint, but it takes more than a hard crank on well-milled stock. Franklin recommends 175 to 250 psi for dense hardwoods, and a 400 by 45 mm end grain joint at 200 psi needs about 5,600 lbf spread across the panel, which is six or seven bar clamps working hard. In a home shop most failed glue lines were simply under-clamped. Over-tightening does real damage in other ways: it bows the panel, telegraphs clamp bars into the surface, and squeezes glue out of a cupped joint long before it squeezes it out of a flat one.
The starved joint is the most repeated explanation in woodworking forums for a glue line that opened up, and it is repeated most often by people who were not standing at the bench. The physics is genuine: squeeze enough glue out of a joint and there is not enough film left to bond. What gets lost is the scale. The pressures that starve a PVA joint on flat, freshly milled hardwood sit above what a hobby shop can generate with the clamps hanging on the wall, and the boards that come apart are usually the ones that never saw enough pressure in the first place.
What does a starved joint actually look like?
Break one open and the failure surface is mostly bare wood with a glassy, patchy film in places. There is no torn grain, because the wood fibres never got a bond strong enough to tear. A properly glued PVA joint fails in the wood next to the line, not at the line, and you can check this on any offcut with a hammer and two minutes.
Compare that to the two failures people misdiagnose as starvation. A joint that was clamped over an open time overrun shows a continuous, dull, skinned film on both faces, because the glue had already begun to set before the surfaces met. A joint that was under-clamped shows a thick, uneven line with visible gaps and often a small ridge of hardened squeeze-out inside the joint where the two faces never quite closed.
| What you see on the broken face | Likely cause | What to change |
|---|---|---|
| Bare wood, thin glassy patches | Genuine starvation, or a dry surface that soaked the glue | More glue, or size the end grain first |
| Continuous dull skin, both faces | Open time exceeded before clamping | Work in smaller sections, or switch to Titebond III |
| Thick line, visible voids | Under-clamped or cupped stock | More clamps, cauls, joint the faces again |
| Torn wood fibres | Nothing, this is a good joint | Nothing |
How much pressure does the glue actually want?
Franklin publishes numbers for Titebond and they are the closest thing the trade has to an official figure: roughly 100 to 150 psi for softwoods, 125 to 175 psi for medium density hardwoods, and 175 to 250 psi for dense hardwoods like hard maple, white oak and walnut. Those numbers exist to close the joint and hold it while the glue sets, not to define a ceiling above which everything fails.
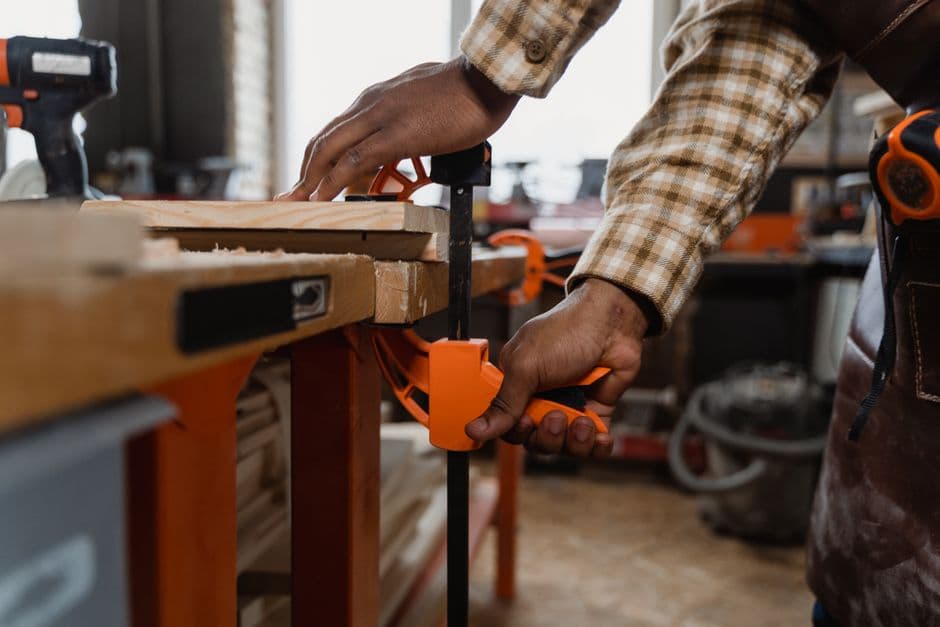
Pressure is force divided by joint area, and the area is where end grain boards get expensive. Take a finished board 300 mm wide, 400 mm long and 45 mm thick. Every glue line in the second glue-up is 400 mm long and 45 mm deep, so one joint face is 18,000 mm², or about 27.9 square inches. At 200 psi that single line wants 5,580 lbf of clamping force. The clamps also have to push that force through the neighbouring strips, so the whole panel needs it at once.
Can your clamps even reach that number?
This is where the forum advice falls apart. Here is what common clamps deliver when a person of average strength tightens them by hand:
| Clamp | Realistic hand-tight force | Notes |
|---|---|---|
| Light F-style bar clamp | 200 to 400 lbf | The handle flexes before the wood complains |
| 3/4 inch pipe clamp | 500 to 900 lbf | Depends heavily on the handle length |
| Parallel jaw clamp | 700 to 1,000 lbf | Usually rated at 1,000 lbf, reached only with real effort |
Six parallel clamps cranked hard put roughly 5,000 lbf on that panel, which lands just under the 200 psi target and nowhere near a starvation threshold. Add the fact that clamping force falls off with distance from the bar, so the middle of a 300 mm wide panel sees noticeably less than the edge under the screw, and the picture gets clearer. The average end grain glue-up in a garage is running at 60 to 120 psi across most of its area, and the woodworker is worrying about the wrong end of the scale.
Why does the second glue-up fail more often than the first?
Because it is a different joint doing a harder job. The first glue-up is long grain to long grain, the strongest joint in woodworking. The second glue-up is also long grain to long grain along the sides of each slice, but the slices are short, the panel is heavy, and every face has just come off a table saw blade with a burnished surface that accepts glue less readily than a jointed one.
Three specific things go wrong there, and none of them is starvation. Sawn faces that have been burnished by a dull blade do not wet properly, so a light pass with 120 grit or a fresh blade matters more than clamp pressure. Slices that come out of the panel with even 0.3 mm of cup do not close under any force a bar clamp can deliver, and force applied to a joint that will not close simply bows the whole panel. Glue that sits open for 12 minutes on a hot day is finished before you tighten anything, and a 400 mm panel with eight strips takes longer to spread than most people admit.
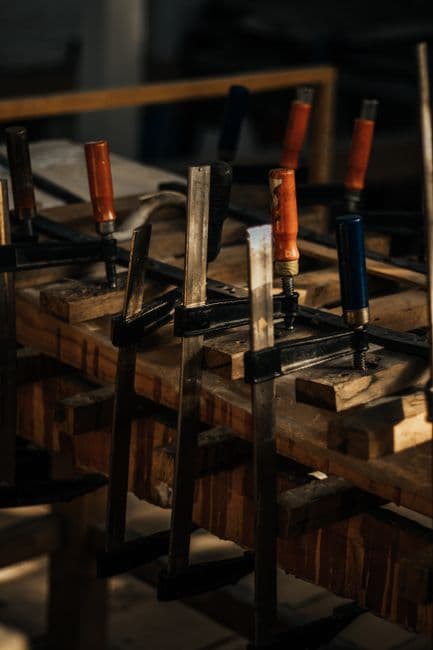
So what does over-tightening actually break?
Real things, just not the glue film. Crank a row of clamps alternately on one face and the panel takes a bow that you then have to flatten away, and on an end grain board every millimetre you flatten off is a millimetre of the thickness you sold the customer. Clamp bars pressed straight against soft maple leave dents 0.5 mm deep that survive two sanding grits. Mitred or angled assemblies slide sideways under pressure, which is why a chevron panel can creep 5 mm out of line while the last clamp goes on.
There is also a case where over-tightening genuinely does starve the joint, and it is worth naming precisely: thin glue, warm shop, cupped stock. Warm PVA is less viscous, a cupped face means the pressure concentrates at two edges instead of spreading, and those edges can go dry while the middle stays fat. If your shop is at 30°C and your stock has any cup left in it, that combination is the one to watch.
What I would actually do
Spread enough glue that a continuous bead of squeeze-out appears along the whole line within a minute of tightening, then stop tightening. That bead is the only feedback loop that works without a pressure gauge, and it tells you both things at once: enough glue went on, and enough force reached the joint to close it.
Beyond that, I would put the effort into clamp count rather than clamp torque. Space clamps no further apart than twice the panel thickness, alternate them above and below the panel, and use cauls across a wide second glue-up so the middle sees something close to what the edges see. A shop with eight modest F-clamps and cauls will get better joints than a shop with three parallel clamps cranked until the handles bend.
Where the layout decides the clamping
The number of joints, their length and their area all come out of the pattern before any glue is opened, and that is what sets how many clamps the panel needs. Endgrain Studio works out the strip widths and slice count from the pattern you draw, gives the finished dimensions of every second glue-up joint, and prints that alongside the cut list, so you can count clamps at the planning stage instead of discovering at the bench that you own four and need seven. It applies your kerf and milling allowance to the same drawing, which is where the waste budget comes from too.
If a joint has already opened on you, the diagnosis is usually visible on the broken face, and the postmortem on cracked glue lines walks through the other failure modes in more detail.
What to change on the next glue-up
Count your clamps against the joint area before you mix anything: panel length times panel thickness, times 200 psi, divided by whatever your clamps really deliver. Check the slices for cup with a straightedge and re-joint anything that rocks, because pressure will not fix geometry. Then glue in sections small enough to finish inside the open time, and leave the last quarter turn on the handle for the joint that has not closed yet rather than for the one that already has.