
How Do I Reproduce the Exact Same Pattern for a Repeat Order?
A photo of the finished board is not enough to rebuild it, because the pattern is decided by numbers you can no longer measure once the board is glued: strip widths before planing, crosscut thickness, kerf, and which row got flipped. Record six things at build time (strip width per species, strip count and order, crosscut thickness, kerf, the flip or shift rule per row, and finished dimensions) and the second board comes out identical. A saved Endgrain Studio project stores all six and reprints the cut list, so a repeat order is a print job rather than a reverse-engineering job.
The message arrives about four months after the sale. Someone's sister saw the board at Thanksgiving and wants one just like it, and the buyer sends you back your own listing photo as the spec. You look at that photo and realize you cannot read a single useful number off it.
That is not a memory problem. It is a data problem: end grain patterns are defined by dimensions that stop existing the moment the board is finished. The squares in the photo are 36 mm because you ripped 38 mm strips and lost 2 mm to jointing and sanding, and no amount of staring at the picture will tell you that.
Why can't I just measure the finished board?
Because every number that mattered during the build has been changed by the build itself.
Measure a finished checkerboard and you get the sanded, planed, oiled result. To rebuild it you need the pre-glue numbers, and the difference is not rounding error. On a 12 x 16 in board it is the difference between a 36 mm square and a 38 mm square, which after eight rows across the width compounds into a board 16 mm narrower than the original.
| What you see on the finished board | What you actually need to rebuild it |
|---|---|
| Square reads 36 mm | Strip ripped at 38 mm, jointed to 37, sanded to 36 |
| Board is 305 mm wide | Panel glued at 318 mm, flattened to 305 |
| Board is 38 mm thick | Crosscut at 42 mm, drum sanded to 38 |
| Rows look offset | Row 2 shifted by half a square, row 5 mirrored |
| Two species alternate | Maple strips at 38, walnut at 25, in a 2-1-2 order |
The last row is the one that catches people. Nobody photographs the difference between a 38 mm walnut strip and a 25 mm walnut strip when the board is still on the bench, and once it is glued you are guessing.
What exactly do I need to write down?
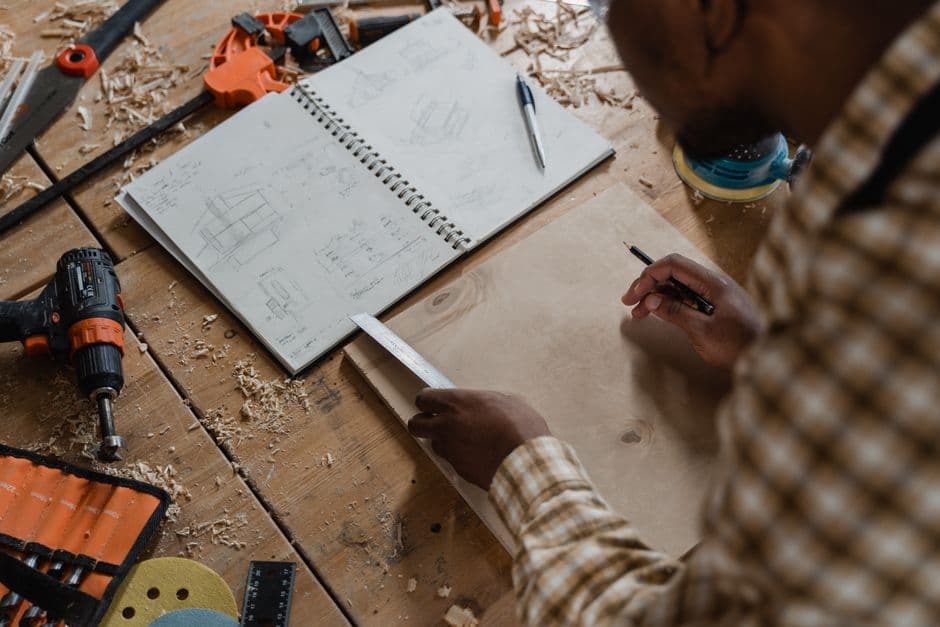
Six items. Write them at the moment you set the fence, not after the glue-up, because after the glue-up you are already reconstructing.
| Item | Example | Why it matters |
|---|---|---|
| Strip width per species, as ripped | Maple 38 mm, walnut 25 mm | Sets the visual proportion of the pattern |
| Strip count and order | M-W-M-W-M-W-M, 7 strips | Determines panel width and the field layout |
| Crosscut thickness | 42 mm | Becomes finished board thickness minus flattening |
| Kerf of the blade used | 3.2 mm full kerf | Changes total stock needed and the panel length |
| Flip or shift rule per row | Row 2 shifted 19 mm, row 5 mirrored | This is the pattern, not the strips |
| Finished dimensions | 305 x 406 x 38 mm | The target the allowances are subtracted from |
Kerf earns its place there for a reason people underestimate. Switch from a 3.2 mm blade to a 2.4 mm thin kerf on the second board and every crosscut lands 0.8 mm differently. Across nine crosscuts on a 400 mm panel that is 7 mm of accumulated length, which will not ruin the pattern but will leave you a strip short at the end. The kerf and allowances walkthrough traces where that length goes.
Does a photo of the glue-up help at all?
It helps more than a photo of the finished board, and it is still not sufficient on its own.
A top-down shot of the strips dry-fit on the bench, taken before glue, records the order and the flip rule accurately. What it does not record is any width, because a photo has no scale. Put a tape measure or a marked story stick in the frame and the photo becomes usable. Without one, you are back to counting squares and multiplying by a number you no longer know.
My habit, after losing an afternoon to exactly this: photograph the dry-fit with a rule in frame, then write the six numbers on masking tape stuck to the panel itself. The tape gets cut off during the crosscuts, so I transcribe it into the project file before the saw runs. Paper notes in a shop drawer have a survival rate somewhere near zero.
What if I already sold the board and recorded nothing?
You can reverse-engineer a pattern from a good photo, and the accuracy depends on what is in the frame.
Start with a known dimension. If your listing said 12 x 16 in, you have a scale. Open the photo, count the squares across the width, and divide: eight squares across 305 mm gives 38 mm finished squares. Add back your allowances (typically 2 to 3 mm total for jointing and sanding) and you land on the rip width you probably used. Species positions read straight off the photo. The flip and shift rule reads off the photo too, as long as the resolution is good enough to follow individual rows.
What you cannot recover is thickness before flattening, and that one does not matter much: you set it from the target thickness plus your usual allowance anyway.
The result will be close. It will not be identical, and if the customer is placing the repeat order because they want a matching pair sitting side by side on the same counter, close is a problem. Tell them the truth about that rather than promising a twin.
How does a saved project change this?
It turns the whole problem into a print job.
Endgrain Studio stores the pattern as the parameters that produced it rather than as an image. Strip widths per species, strip order, crosscut thickness, kerf, the flip and shift rule per row, target dimensions and the cost basis all live in the project. Open it four months later and it regenerates the same cut list, the same glue-up diagram and the same material total. Change the size to 16 x 20 in for the sister's kitchen and the strip widths recompute against the new panel, which is the part that goes wrong by hand.
That last point is worth sitting with. A repeat order at a different size is not the same pattern scaled, because the square size stays visually fixed while the strip count changes, and the second glue-up strip width is tied to board thickness rather than to the pattern at all. The strip width article covers why. Recomputing that chain by hand for a size variant is where most repeats quietly drift.
How close will a repeat actually be?
Honest answer: geometrically identical, but not a twin.
The pattern will match to within your saw's accuracy, which on a well-tuned table saw with a sled is a fraction of a millimetre and invisible on a checkerboard. What will not match is the wood. Walnut from a different board runs lighter or darker, maple picks up different figure, and a board built in February from stock that sat in a heated shop behaves differently from one built in July. Two boards from the same species, same plan and different lumber will read as a matched pair rather than as copies.
If a customer wants a genuine pair, build both from the same panel. Rip enough strips for two boards, glue one long panel, crosscut it for both, and the color match comes free. That decision has to be made before you buy lumber, which is another argument for having the plan in front of you rather than in your head.
What about batches?
Once repeats become regular, the unit of planning stops being a board.
Plan the first glue-up panel for the whole batch rather than per board. Four 12 x 16 in boards from one panel means one setup at the saw instead of four, and identical squares across all four because every strip came off the same rip. The material saving is real too: shared offcuts drop waste from roughly 30 percent per board to closer to 22 percent across the batch, since the ends of the panel get used instead of thrown away twice.
The catch is that a batch panel gets long and heavy. Four boards' worth of 38 mm strips glued into one panel is over a metre of glue line to close in one clamp session, and open time on Titebond III is about 10 minutes at 21 C. Two panels of two boards each is the compromise I would make in a small shop.
The short version
Record six numbers at build time and a repeat order is a reprint: strip width per species as ripped, strip count and order, crosscut thickness, kerf, the flip rule per row, and finished dimensions. A photo without a rule in frame gives you the pattern but not the scale. A saved project gives you both, and recomputes the chain when the repeat comes in at a different size. If the customer wants a true matching pair, build them from one panel and say so up front, because a second board from different lumber will never be a twin.