
Why Did My Glue Joints Fail on the Second Glue-Up?
A second glue-up fails for one of four reasons, and the broken joint tells you which. Slices that came out of the first panel with cup or twist never closed, so the line has visible voids. Glue past its shelf life or chilled below 10°C leaves a chalky, crumbly film. A face burnished by a dull blade or dusted with sanding fines refuses to wet, so the film looks glossy and sits on top of the wood. And pressure piled onto a joint that geometry will not let close simply bows the panel while the gap stays open. Fix the flatness first, because it is the cause that clamps cannot compensate for.
The second glue-up is the one that hurts. By then you have milled the stock, glued the first panel, flattened it, crosscut it into slices, and spent four or five hours getting to a point where the pattern is finally visible. When a line in that panel opens up under a chisel or springs apart on the drum sander, you lose the whole day, not a strip of maple. The good news is that the failure surface is a readable record of what went wrong, and after four causes the list is basically finished.
What is the broken joint telling you?
Split the failed line apart, hold both faces up to a window, and look at the glue film rather than the wood. There are four distinct appearances, and each points at a different mistake made at a different point in the process.
| What the broken face looks like | Cause | Where it went wrong |
|---|---|---|
| Thick line, voids, hardened ridge inside | Slice was cupped or twisted, joint never closed | Flattening after the first glue-up |
| Chalky film that crumbles under a thumbnail | Glue past shelf life, or applied below 10°C | The bottle, or the shop temperature |
| Glossy film sitting on top, wood underneath dry | Burnished sawn face or sanding dust on the joint | The crosscut, or the sander |
| Continuous dull skin on both faces | Open time ran out before the clamps went on | Assembly speed |
| Torn wood fibres | Good joint that failed somewhere else | Look at the neighbouring line |
That last row matters more than it looks. People bring a broken board to a forum, photograph the wrong joint, and get advice about the joint that actually held.
Was the slice flat enough to close?
This is the cause I would check first, because no amount of clamping force fixes it and because the second glue-up is where it shows up. A first-glue-up panel that comes off the sander with 0.3 mm of cup across 300 mm looks perfectly fine. Crosscut it into 45 mm slices and each slice inherits a share of that curve along its glue face. Stand two of them together and you get a gap in the middle that daylight goes through.
Bar clamps will close that gap on the outside and leave it open in the middle, and the panel takes a bow to pay for it. The joint reads as under-clamped, so the natural response is more pressure, which makes the bow worse without touching the void. A straightedge across the glue face of every slice takes maybe forty seconds for a ten-slice board and is the single highest-value check in the whole process.
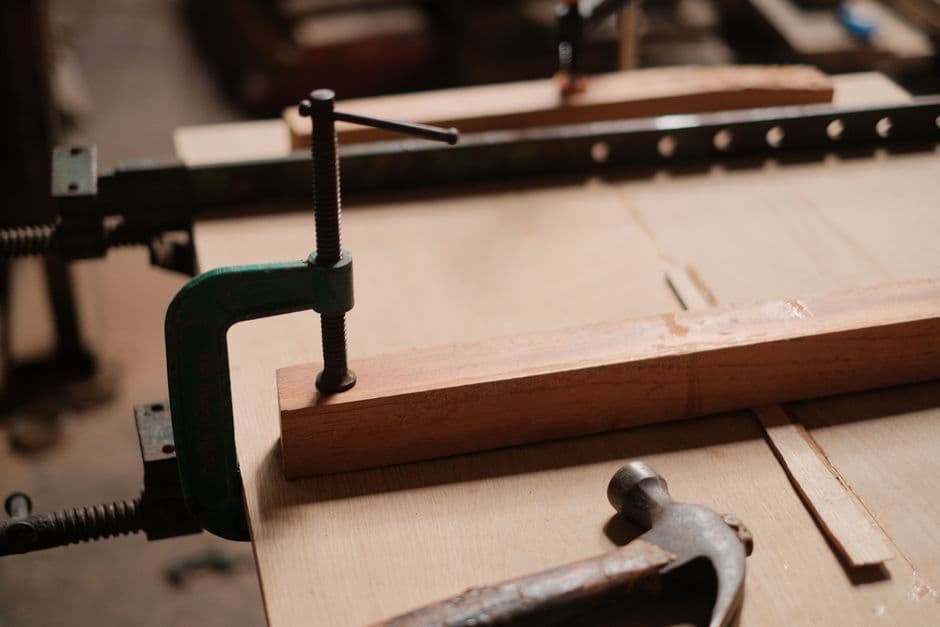
The dry fit is the test. Stand all the slices on edge in sequence, push them together with hand pressure only, and look along the seam from a low angle with a light behind the panel. Anything you can see light through will still be there under 800 lbf. Re-joint or re-sand the offending face before you open a bottle.
Is the glue still alive?
PVA has a real shelf life, and it fails quietly. Titebond gives its yellow glues about two years from the date code on the bottle when stored properly, and the failure mode after that is not weakness you can see in the bottle, it is a film that dries chalky and crumbles instead of forming a continuous layer. Frozen and thawed glue behaves the same way, which catches people who keep a bottle in an unheated garage over winter.
Temperature at the moment of gluing is the other half of this. Titebond Original wants 10°C minimum, Titebond III works down to about 8°C. Below that the film never coalesces properly, and a joint glued in a 5°C shop can hold well enough to survive the clamps and then fail the first time the board is stressed. If your shop was cold, warm the stock and the glue overnight, not just the air for twenty minutes.
Test it before you trust it. Glue two offcuts, wait an hour, break the joint with a hammer. Torn wood fibres mean the glue is fine. A clean separation with a powdery film means throw the bottle out, and a new gallon of Titebond III runs around 35 dollars against a day of your work.
Did the face refuse to take glue?
Two different surface problems get blamed on each other. A crosscut face made by a dull or resin-loaded blade is burnished: the fibres come out compressed and polished, so the glue beads on the surface. You can spot it by eye, the face has a slight sheen compared to a freshly jointed one. A light pass on 120 grit, or a clean blade with more teeth, fixes it.
The second problem is dust. If you sand the flattened first panel and then crosscut it without blowing off the slices, the joint faces carry a layer of fine dust that acts as a release agent. This one is worse on oily species. Teak, cocobolo and rosewood carry natural oils to the surface, and the standard fix is an acetone wipe immediately before glue-up, not an hour before, because the oil migrates back.
Walnut and hard maple do not need acetone, and I would not use it there. A dry brush and a quick check that the face is not glossy covers a domestic hardwood board completely.
When does clamping pressure become the problem?
Pressure earns blame it rarely deserves, but there is a specific case where it does real damage on the second glue-up. When a joint will not close because of cup, cranking harder transfers the force into bending the whole panel. You end up with a board that has 2 mm of bow, a joint that is still open in the middle, and 2 mm less finished thickness after you flatten the bow away.
The useful feedback loop is the squeeze-out. A continuous bead along the full length of the line within a minute of tightening means enough glue went on and enough force reached the joint. A bead at the ends and nothing in the middle means your clamps are too far apart or your slice is cupped, and the answer is more clamps and cauls rather than more turns on the ones you have. Space them no wider than twice the panel thickness, so roughly 90 mm apart on a 45 mm board.
Where the planning stage removes the risk
Most of these failures trace back to a plan that existed only in someone's head: how many slices, how wide, how much stock to leave for flattening between the two glue-ups. Endgrain Studio works the pattern out into strip widths, slice thickness and the finished dimensions of every joint in the second glue-up, and prints that with the cut list, so the flattening allowance is a number on paper instead of a guess at the planer. The same drawing gives you the joint area, which is what tells you how many clamps the panel needs before you find out at the bench.
If the joint that failed was in the first glue-up rather than the second, the postmortem on cracked glue lines covers those cases, and the clamping pressure article has the psi arithmetic in full.
The four checks before the next second glue-up
Run a straightedge over every slice face and re-joint anything that rocks. Break a test joint from the same bottle you are about to use. Wipe or brush the faces and look for sheen. Dry clamp the whole panel with the light behind it and count the clamps against a 90 mm spacing. Four checks, maybe ten minutes, against the five hours already invested in the panel sitting on your bench.