
7 Ways Your End Grain Glue-Up Fails, and How to Prevent Each
Nearly every ruined end grain glue-up traces back to one of seven causes: stock that was not flat and square before glue, crosscuts that were off by a fraction of a degree, glue that skinned over before the clamps went on, too little glue on end grain that drinks it, clamps tightened hard enough to squeeze the joint dry, slices that shifted sideways under pressure, and wood that was still wet when it went into the panel. Six of the seven are decided before you open the glue bottle. The one you can still fix mid-glue-up is open time, and the way to fix it is to glue half the panel at a time.
A failed end grain glue-up rarely announces itself while it is happening. The clamps go on, the squeeze-out looks right, and the panel comes off the bench the next morning with a gap you can slide a business card into, or a slice standing 2 mm proud of its neighbours, or a hairline that opens two weeks later in a customer's kitchen. By then the evidence is gone. So the useful way to read this list is backwards: find the symptom you got, then look at what you did four steps earlier.
The seven below are ordered roughly by how often they show up in shop postmortems, and every one of them has a number attached. If a claim here has no number, it is because I am not confident in one, and I would rather say so than invent a figure.
1. The stock was not flat before it was glued
A strip with a 1 degree bevel left on its edge does not glue into a flat panel. It glues into a panel with a bow, and the bow gets multiplied by the number of joints: eight strips at half a degree each is a four degree twist across the panel. On a first glue-up you can hide this by planing the panel afterwards. On an end grain board you cannot, because that panel gets sliced and rotated, and every error becomes a step in the finished surface.
The check takes ninety seconds. Lay two strips face to face off the saw. If light shows anywhere along the joint, the fence or the jointer is out, not the wood. Fix the machine before you cut the rest of the pile.
2. The crosscuts were not square
This is the failure specific to end grain, and it is brutal because the error doubles. Cut a slice with the blade 0.5 degrees off square and you get a wedge. Flip alternate slices to make the pattern, as everyone does, and the wedges compound instead of cancelling: two adjacent slices now differ by 1 degree across the joint, which on a 40 mm thick slice is a 0.7 mm gap at one edge with the other edge in contact.
Clamps will close a gap that size and the joint will look fine. It will also be a joint under permanent tension, which is the joint that opens in month three. Square the blade against a machinist's square with the saw unplugged, then cut a test slice off scrap and flip it, edge to edge. Any gap you see is double the actual error.
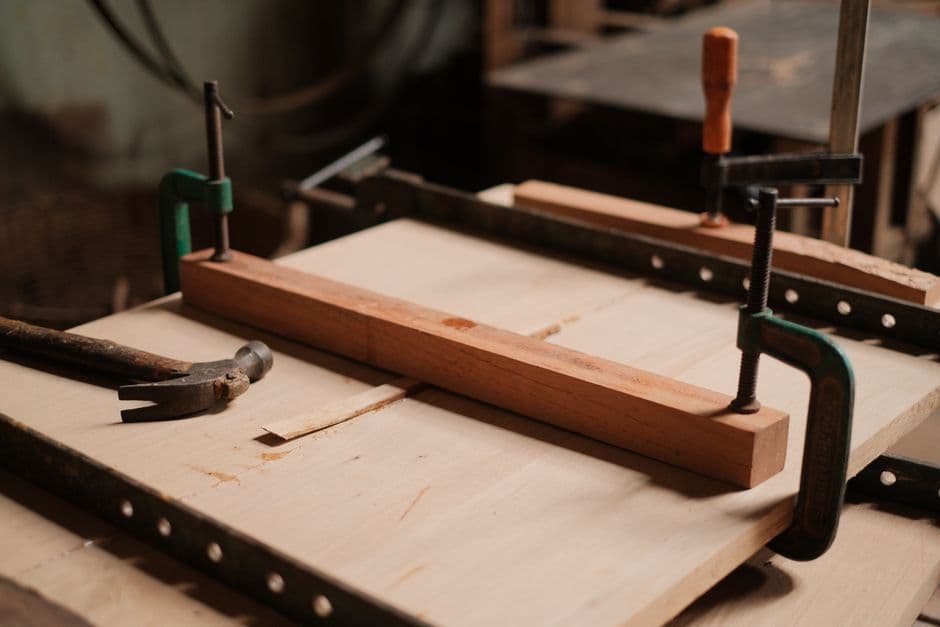
3. The glue skinned over before the clamps closed
Titebond III gives roughly 8 to 10 minutes of open time at 21 C and 50 percent humidity, and that figure drops fast as the shop warms up. A second glue-up on a 300x400 mm board has around 15 slices and 14 joints, all of which need glue on both faces. Spreading that much end grain with a roller takes most people longer than the open time allows, so the first joint is already skinned before the last one is wet.
A skinned joint does not bond. It sticks, which is worse, because it holds through the clamping and fails later. The fix is to stop treating the panel as one glue-up: do seven slices, clamp them, come back in an hour, do the other eight, then join the two halves. Two extra clamping cycles buy you a joint that is actually wet when it closes.
4. There was not enough glue on the end grain
End grain is a bundle of open tubes and it wicks glue away from the joint line. A spread that would be generous on a face joint leaves an end grain joint starved from the inside. The traditional answer is a sizing coat: brush a thin layer of glue onto both faces, wait 5 to 10 minutes for it to soak in, then apply the real spread and clamp. It costs you a step and roughly doubles glue consumption on the second glue-up.
Squeeze-out is the indicator to watch. A properly glued joint gives a continuous line of small beads along its whole length within a minute of clamping. If a section gives nothing, that section is dry, and no amount of extra clamp pressure will change it.
5. The clamps were too tight
The instinct after reading points three and four is to crank harder. That is the fifth failure. Hardwood joints want somewhere in the range of 100 to 250 psi, and a parallel clamp at full grunt on a narrow panel goes well past it. Over that pressure you push glue out of the joint faster than it can cure in place, and the joint ends up starved by the same mechanism as point four, only self-inflicted.
The practical rule, since nobody has a gauge on their clamps: tighten until squeeze-out appears along the whole joint, then give it a quarter turn and stop. If the panel is bowing between clamps you are past useful pressure. The full pressure arithmetic is worth reading once if you glue up regularly.
6. The slices slid sideways under pressure
Wet glue is a lubricant. Put pressure across a stack of slices and they skate, so the panel that went in aligned comes out with a 3 mm stagger and no flat reference face left. On an end grain board this eats your thickness allowance directly: you planned 4 mm of flattening allowance, the stagger took 3 of it, and you are sanding to the bottom of your budget.
Two things stop it. Clamp cauls across the top and bottom of the stack, which turns skating into a fight against the caul instead of a free slide. And a dry run with the clamps at working pressure, in which you mark the outer edges with a pencil line, so that when the glue is on you have a reference for where the slices should be sitting.
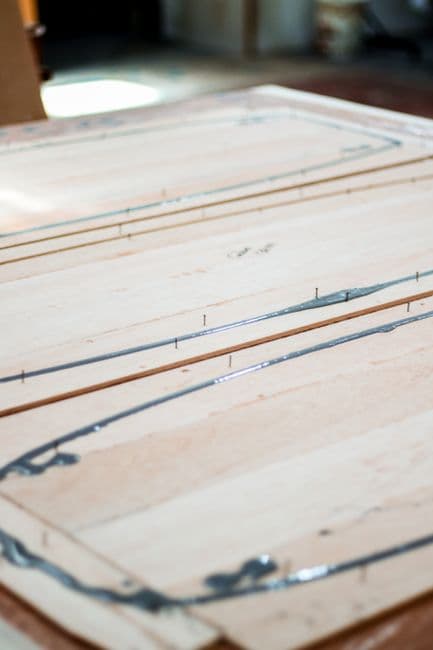
7. The wood was too wet, or the shop was too dry
A board glued at 12 percent moisture content and taken into a 6 percent house shrinks across the grain. Every joint holds it, so the panel takes the strain and something gives, either a crack along a glue line or a cup that no amount of sanding removes. Kiln dried stock for indoor work sits around 6 to 8 percent, and a pin meter costs less than the walnut in one board.
The other half of this is acclimation. Stock brought from an unheated garage into a heated shop needs a week stacked with stickers before it is cut, not an afternoon. If a board warped after the glue-up, moisture is the first suspect and clamping technique is the second.
Which of the seven should you fix first?
Ordered by how much grief they cause per hour of effort, the sequence is: square the crosscut sled, buy a moisture meter, then change the way you spread glue. The first two are one-time fixes that remove failures 2 and 7 permanently. The third is a habit change that covers 3 and 4 together.
Failures 1, 5 and 6 are the ones that come back whenever you rush, and rushing usually starts when the cut list turns out wrong halfway through and you are improvising to save material. That is where planning pays for itself: Endgrain Studio gives you the strip widths, the crosscut positions with your kerf already subtracted, and the board feet with waste included, so the panel on the bench matches the panel in the drawing and you are not making decisions with wet glue setting in front of you.
What if a joint has already failed?
Do not re-glue over cured squeeze-out or a starved joint face. Both need to be cut back to clean wood on the table saw, which costs you the width of one kerf plus whatever the saw takes to true the face, then re-glued as a fresh joint. A board with a failed joint in the middle of a pattern is often worth cutting into two smaller boards instead, which is a real product at a real price rather than a rescue that shows. If the joint that let go was in the second glue-up specifically, the second glue-up postmortem goes through those cases in more detail.