
What Are the Steps to Make an End Grain Cutting Board, Start to Finish?
Nine steps: buy 8/4 kiln dried hardwood, mill it flat and square, rip it into strips, glue those strips into a panel, crosscut the cured panel into end grain slices, rotate and re-glue those slices into the finished field, flatten both faces, sand from 80 through 220 grit, and oil it. A 300 x 400 x 38 mm board takes 6 to 8 hours of shop time spread over three days, because two of the steps are glue cures you cannot rush. The step people skip is the first one: deciding strip widths and crosscut thickness on paper before the saw is switched on.
Most first end grain boards go wrong three weeks before the glue-up, at the lumber yard, where somebody buys 4/4 maple because it was cheaper and then discovers that a 19 mm board can only ever become a 19 mm cutting board. The sequence below is written in the order the decisions actually bind you, which is not the order the tutorials usually give.
What does the whole process look like from above?
Nine operations, two of them are waiting.
| Step | Shop time (300 x 400 mm board) | Blocks the next step? |
|---|---|---|
| Buy stock | 1 hour at the yard | Yes, thickness is fixed here |
| Mill flat and square | 45 min | Yes |
| Rip strips | 30 min | Yes |
| First glue-up | 30 min plus 24 h cure | Cure blocks everything |
| Crosscut into end grain slices | 40 min | Yes |
| Second glue-up | 45 min plus 24 h cure | Cure blocks everything |
| Flatten both faces | 30 to 90 min by method | Yes |
| Sand 80 to 220 | 60 min | No |
| Oil and wax | 20 min plus 2 days soaking | No |
Total hands-on is 6 to 8 hours for a first board and closer to 4 once you have done a few. Calendar time is three days minimum, and the reason is that two glue joints have to reach full cure before anything mechanical touches them.
What lumber do I buy, and how much of it?
8/4 kiln dried hardwood, dried to 6 to 8 percent moisture, and roughly 35 percent more board feet than the finished board contains.
Thickness comes first because it cannot be recovered. The strips you rip in step three are laid on edge for the second glue-up, so the thickness of your rough stock becomes the width of the finished board's field, and the width you rip them to becomes the board's thickness. Start from 8/4 (roughly 50 mm rough, 44 mm after milling) and a 38 mm finished board is comfortable. Start from 4/4 and you are making an edge grain board whether you meant to or not.
Species: hard maple, black walnut, and cherry cover nearly everything sold, they are food safe, and they move at similar rates so the panel stays together across seasons. Skip open pored woods like red oak, which trap food in the vessels, and skip anything exotic without checking its toxicity first.
The 35 percent overage is not padding for clumsiness. Milling takes 3 to 5 mm off thickness, every rip and every crosscut eats 3.2 mm of kerf, and the panel ends get trimmed square twice. The board foot article works a 300 x 400 mm example through in full.
Why does milling come before anything else?
Because a glue joint copies whatever error is in the face it is pressed against, and then doubles it at the second glue-up.
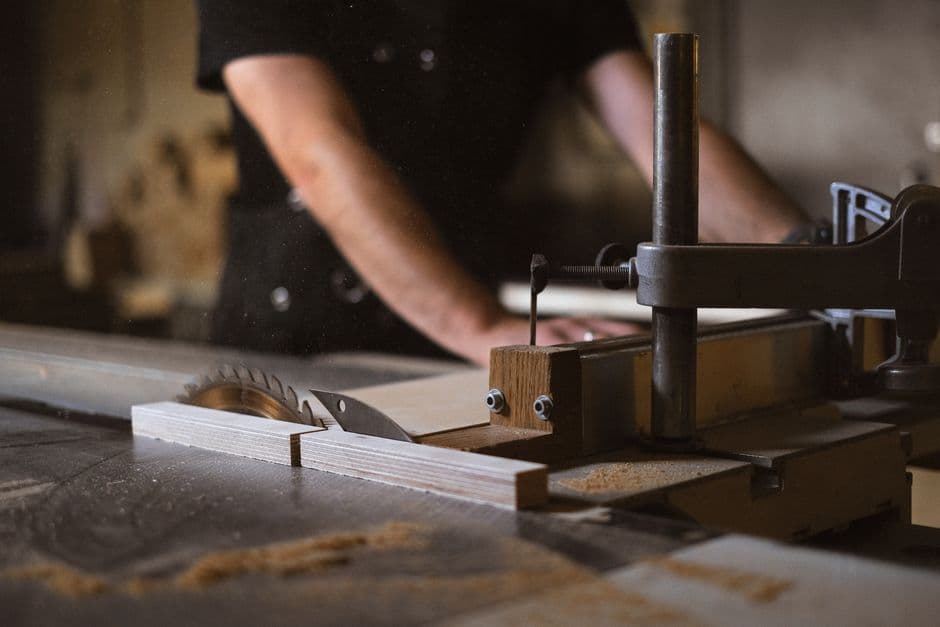
Joint one face flat, plane the opposite face parallel, then rip one edge straight and joint it. Every strip has to be the same thickness within about 0.2 mm, because differences here become steps in the panel that you pay for later in flattening allowance. If you have no jointer, a router sled or a hand plane and a straightedge get you there slower.
Do this a week after the lumber comes home, not the same afternoon. Boards that sat in a heated yard shed need to sit in your shop and settle at your humidity, and cutting them before they settle is the most common cause of a panel that cups two weeks after glue-up.
How wide do the strips need to be?
Ripped strip width equals the finished board thickness plus a flattening allowance, so 38 mm finished plus 3 mm gives 41 mm.
That is the single number most first boards get wrong, and it is worth understanding rather than copying. The strips from the first glue-up get crosscut and tipped up on end, so what was strip width becomes board thickness. Cut them at 38 mm and you finish at 34 or 35 after flattening, which is thin for a board that heavy. The allowance depends on how you flatten: about 1.5 mm total for a drum sander, 3 mm or more for a router sled on a panel with any cup in it. The strip width article goes through the arithmetic with the kerf included.
What actually happens at the first glue-up?
Strips get arranged into the pattern, glued face to face, and clamped into one striped panel.
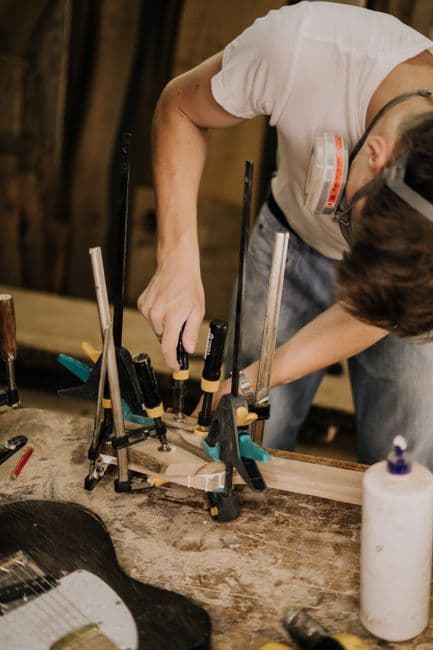
Titebond III is the usual choice: FDA compliant for indirect food contact, waterproof enough for a kitchen, with about 10 minutes of open time on a warm day. Spread it on both mating faces rather than one, put a clamp every 150 mm, and aim for firm pressure with squeeze-out along the whole seam rather than maximum grip. Cranking harder squeezes glue out of the joint and leaves a starved seam that survives the clamps and fails on the table saw two days later.
Alternate the growth ring direction from strip to strip if you can see it on the ends. It costs nothing and it cancels out cupping instead of stacking it.
How do I turn the panel into end grain?
Trim one end square, then crosscut slices across the strips at the thickness you want, using a sled rather than a miter gauge.
This is the cut that makes the board end grain: each slice exposes the cut ends of every strip in it. Slice thickness equals the finished board thickness plus the same flattening allowance, so 41 mm again in our example. Cut them all at one stop block setting, because slices of different thickness produce a panel with steps.
The panel is heavy and wide by now, and a standard crosscut sled may be too short to support it. Feed slowly, keep the panel tight to the sled fence, and use a blade with enough teeth to leave a surface you can glue without re-jointing. A glue line rip blade does this better than a general purpose combination blade.
What changes at the second glue-up?
Each slice gets rotated 90 degrees so the end grain faces up, and alternate slices get flipped or shifted to create the pattern.
Checkerboard comes from offsetting every second slice by one strip width. Brick comes from a half offset. The pattern article covers the geometry for both plus 3D cube. Dry fit the whole thing first, mark the sequence with chalk on the top face, and only then start spreading glue, because end grain drinks glue and the open time is shorter than you expect.
End grain to end grain is a weaker joint than face to face, so size the surfaces: brush a thin coat of glue on, let it tack for two minutes, then apply the real bead and clamp. Same pressure rule as before, and a caul across the top to keep the slices from sliding into a wave.
How do I get it flat and sanded?
Drum sander if you own one, router sled if you do not, and a thickness planer only with real caution.
The planer question has its own article because the failure mode is a panel coming apart in the machine. For a first board a router sled is the safe answer: 1 mm passes in overlapping rows, 40 minutes a side, then sanding to remove the ridges.
Grits run 80, 120, 180, 220. Past 220 on end grain is wasted effort, because the first wash raises the fibers anyway. So raise them deliberately: wipe the board with a damp cloth after 180, let it dry, then sand 220. Round the edges with a 6 mm roundover or a block plane so nothing chips, and cut the juice groove and finger grips now if the board is getting them.
What finish, and when is it usable?
Food grade mineral oil until the wood stops taking it, then a beeswax and oil paste on top.
Flood the first coat, let it soak for an hour, wipe the excess. Repeat daily for three days. The wax mix, roughly 5 parts mineral oil to 1 part beeswax by weight, melted together and applied cold, seals the surface and makes water bead. It is a barrier that gets renewed monthly rather than a permanent film.
Keep raw vegetable oils off it, since they go rancid in the wood, and keep film finishes like polyurethane off it too: they crack under a knife and lift in flakes.
Where does the planning fit?
Before the lumber order, because every number above traces back to two decisions.
Finished thickness sets ripped strip width and crosscut thickness. Pattern and finished dimensions set how many strips, how wide each one, and how much stock you have to buy after kerf and milling. Getting those wrong is not a small correction later, it is a second trip to the yard.
Endgrain Studio takes the finished size, the pattern, and the flattening method, then hands back the cut list at rip and crosscut dimensions, the board foot total with kerf and waste included, the cost, and a printable sheet you can carry to the saw. That is the whole point of the tool: the sequence above is not hard, but it is unforgiving about numbers, and the numbers are the part worth doing at a desk.
The short version
Buy 8/4 hardwood with 35 percent overage, let it acclimate a week, mill it dead flat, rip strips at finished thickness plus 3 mm, glue the first panel and wait a full day, crosscut slices at the same 41 mm with a sled, rotate them into your pattern and glue again, wait another day, flatten with a router sled or drum sander, sand 80 to 220 with a water raise before the last grit, then oil three days running. Nothing in the list is beyond a first-year woodworker. The part that separates a good board from firewood is deciding the widths before the blade spins.